

This week Practical Scrappers wants you to dig into that stash and use something that you have had for over a year. It can be a product or tool and you only need to use one item to qualify. The Grand Prize winner will receive two free digi stamps from The Stamping Boutique. The deadline to enter is 5 p.m. on Saturday, so hop on over to Practical Scrappers and submit your project. My Design Team sisters and I would LOVE to see what's been hiding in your stash!
Here's my "Snow Much Fun" layout for this week:
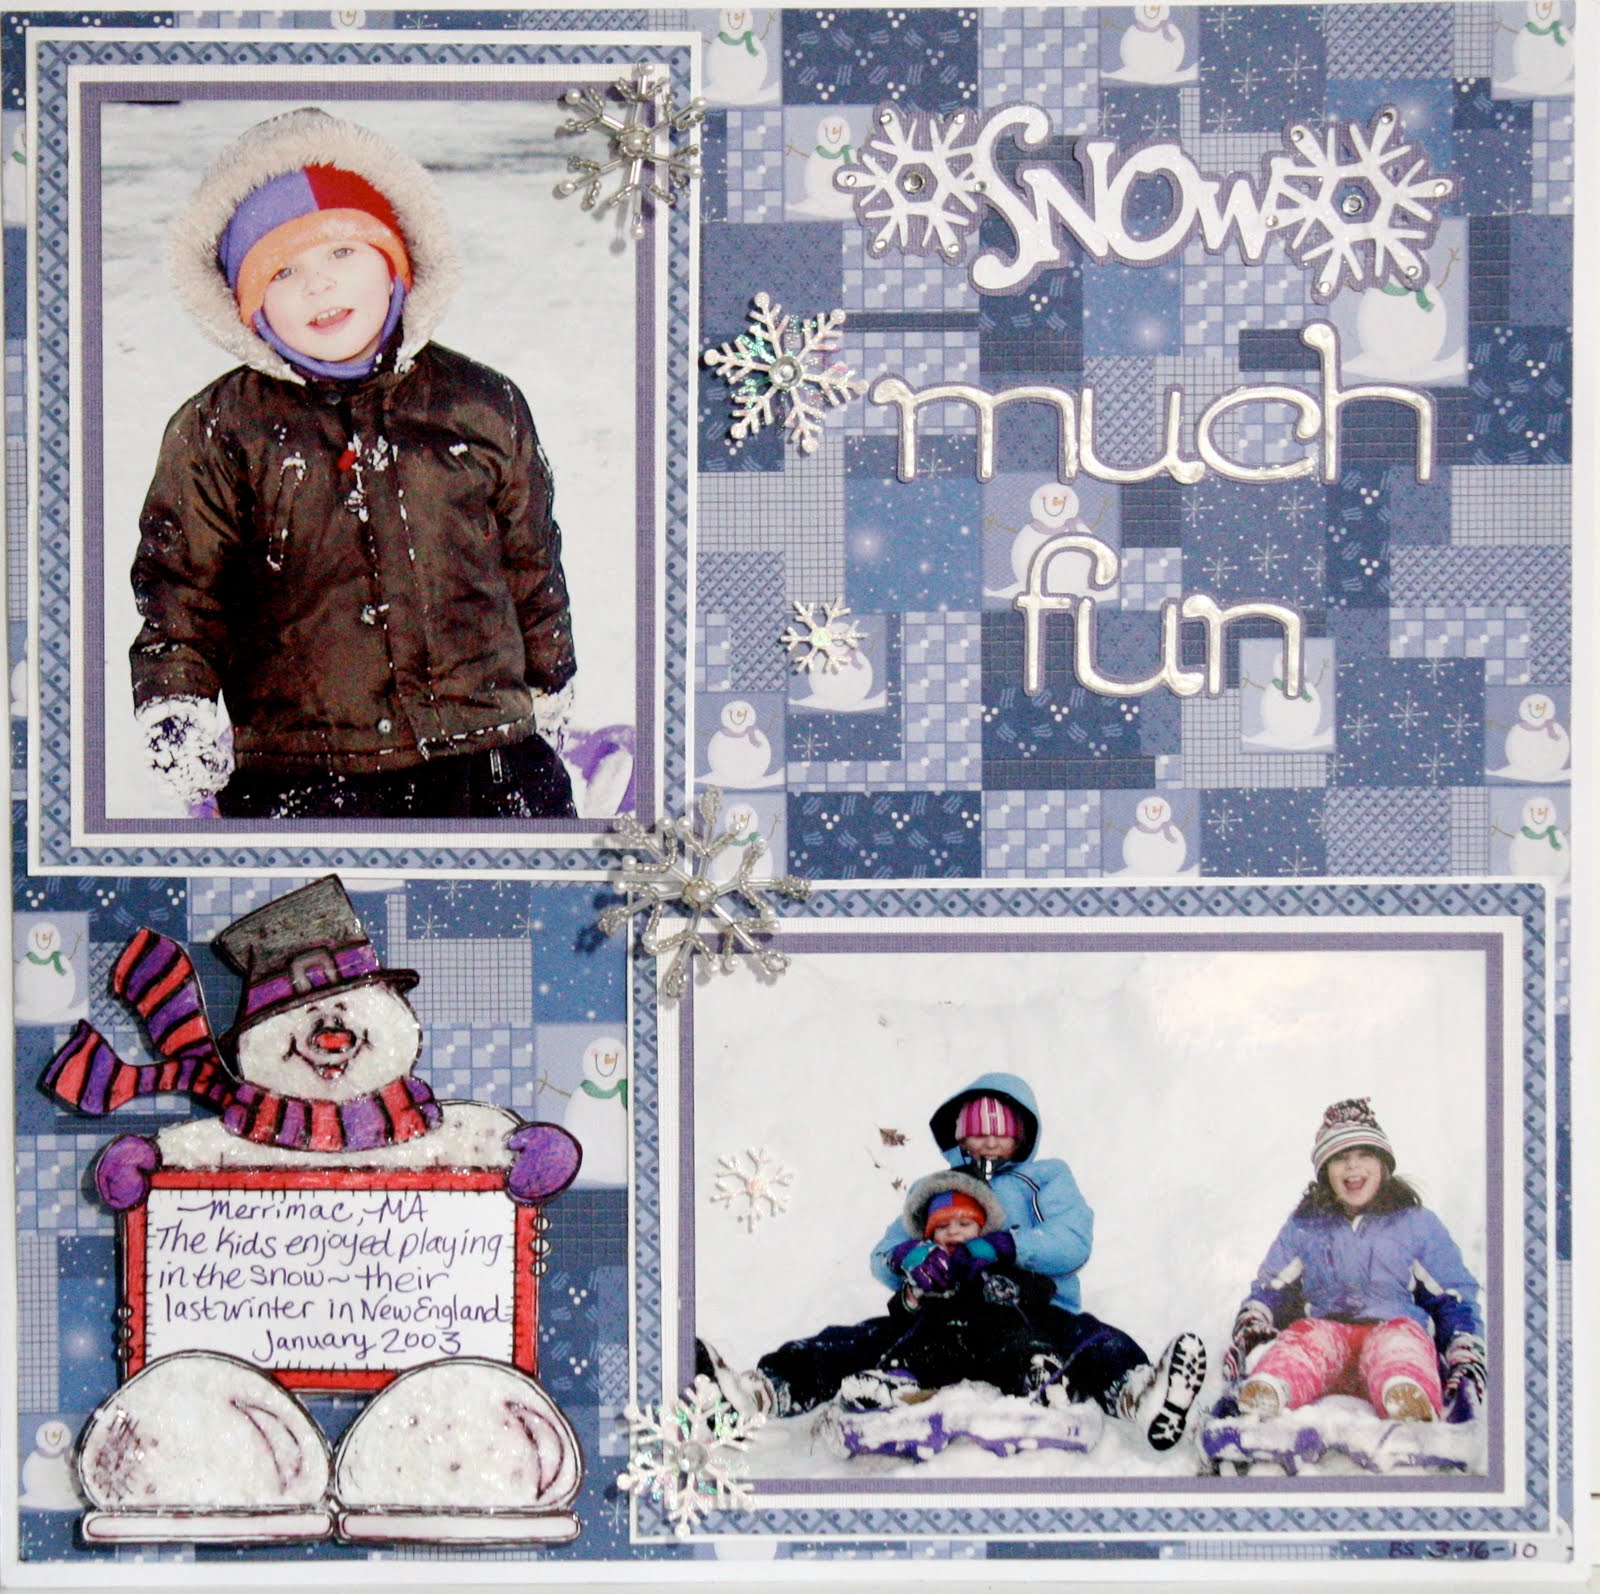 I have had these papers from Hot Off The Press' "Mixing Christmas Papers" since 2002 and it's really great to use them! I wanted to bring in a little purple from the photos and the patterned paper so I matted the 2 photos in purple, then white, then a coordinating HotP paper from the same collection and finally another white mat. I felt that because the geometric pattern on the paper was so busy, the quadruple mats helped to tone it down, while still tying it together.
 The glitzy snowflakes cascading down the layout are from Jolee's Boutique - another item that has been floating around in my stash since about 2003. I love how well the silver & pearl beads and clear rhinestones play with the cool blues and purples of the papers.
Because this month's sponsor is The Stamping Boutique, the DT members all were asked to use a digi stamp on a card or layout during the month. I chose an adorable Snowman Scrapbook Journal, which helped me do another snowy layout from our old home in New England. I colored the happy fellow with colored pencils, then applied Glossy Accents on him. While the Glossy Accents was still wet, I sprinkled a healthy dose of Martha Stewart Crafts "Snow" glitter all over to give him a frosty look. This glitter is a lot chunkier than normal glitter so it does look like ice crystals - take a closer look:

After the first coat of glossy accents dried, I applied more to his hat, scarf & mittens as well as along the exposed edges of the journaling block and the bottoms of his feet. I cut the entire digi stamp out and used 3d foam dots to affix him to the page.
The title letters ("Much Fun") are from the Tear Drop Cricut cartridge and were welded using my Gypsy and "Snow" is from Gypsy Wanderings. I applied Liquid Pearls White Opal (I've had since '08) to the tear drop letters and Distress Rock Candy Stickles to the "Snow" title. I also added some additional rhinestone bling on the snowflakes for a little extra sparkle.
I think I'm done with snowy layouts for a while. The sun is shining here in Southwest Florida and it looks like we're back to our normal 80 degree temperatures for a while... sounds like there may be a few beach days with my girlfriends along with some bright beachy layouts in the coming weeks!
I hope the sun is shining, the snow is melting, the rain has stopped and the crocuses are popping up where you are! Thanks for visiting my blog and...
happy crafting,
Barb


 Posts
Posts


